When it comes to stretching, most people are very haphazard. They do the stretches they like (read: good at) and avoid the ones that hurt. They stretch whenever they think about it, which ends up meaning they do it once a month.
Now, I am fairly flexible person and have been for as long as I can remember… yet I am still like most people. I regularly do the stretches I like (am good at), but tended to avoid the ones that hurt. Yet, as a fitness professional, I knew that I could just avoid things and expect to reach my goals.
For as long as I could remember, I wanted to be able to do a straddle (aka middle) split. I was always pretty good with the front-and-back split, so I had little motivation to work on that one. But whenever I tried to stretch my straddle split, it just hurt and I didn’t know how to make it not hurt. I didn’t want to suffer through intense stretching sessions. I read about various stretching techniques, but it was all unpleasant and I couldn’t get myself to do it regularly.
Until one day I happened to lay across my foam roller. I had been using the foam roller in the typical method of self myofascial release for a few years, but I thought I could put it to an additional use.
My problem was that when I tried to stretch, my thighs tightened up reflexively. I thought that if I could support my chest and prop myself up to the height where I was ready to stretch, I could finally relax into the stretch. When I did it, I felt the completely new sensation of my thighs relaxing and my hips stretching.
[Aside from stretching, my regular workouts include full body strength training and mobility work. I always start with foam rolling my hips, thighs, and back and move on to muscle activation exercises to warm up.]
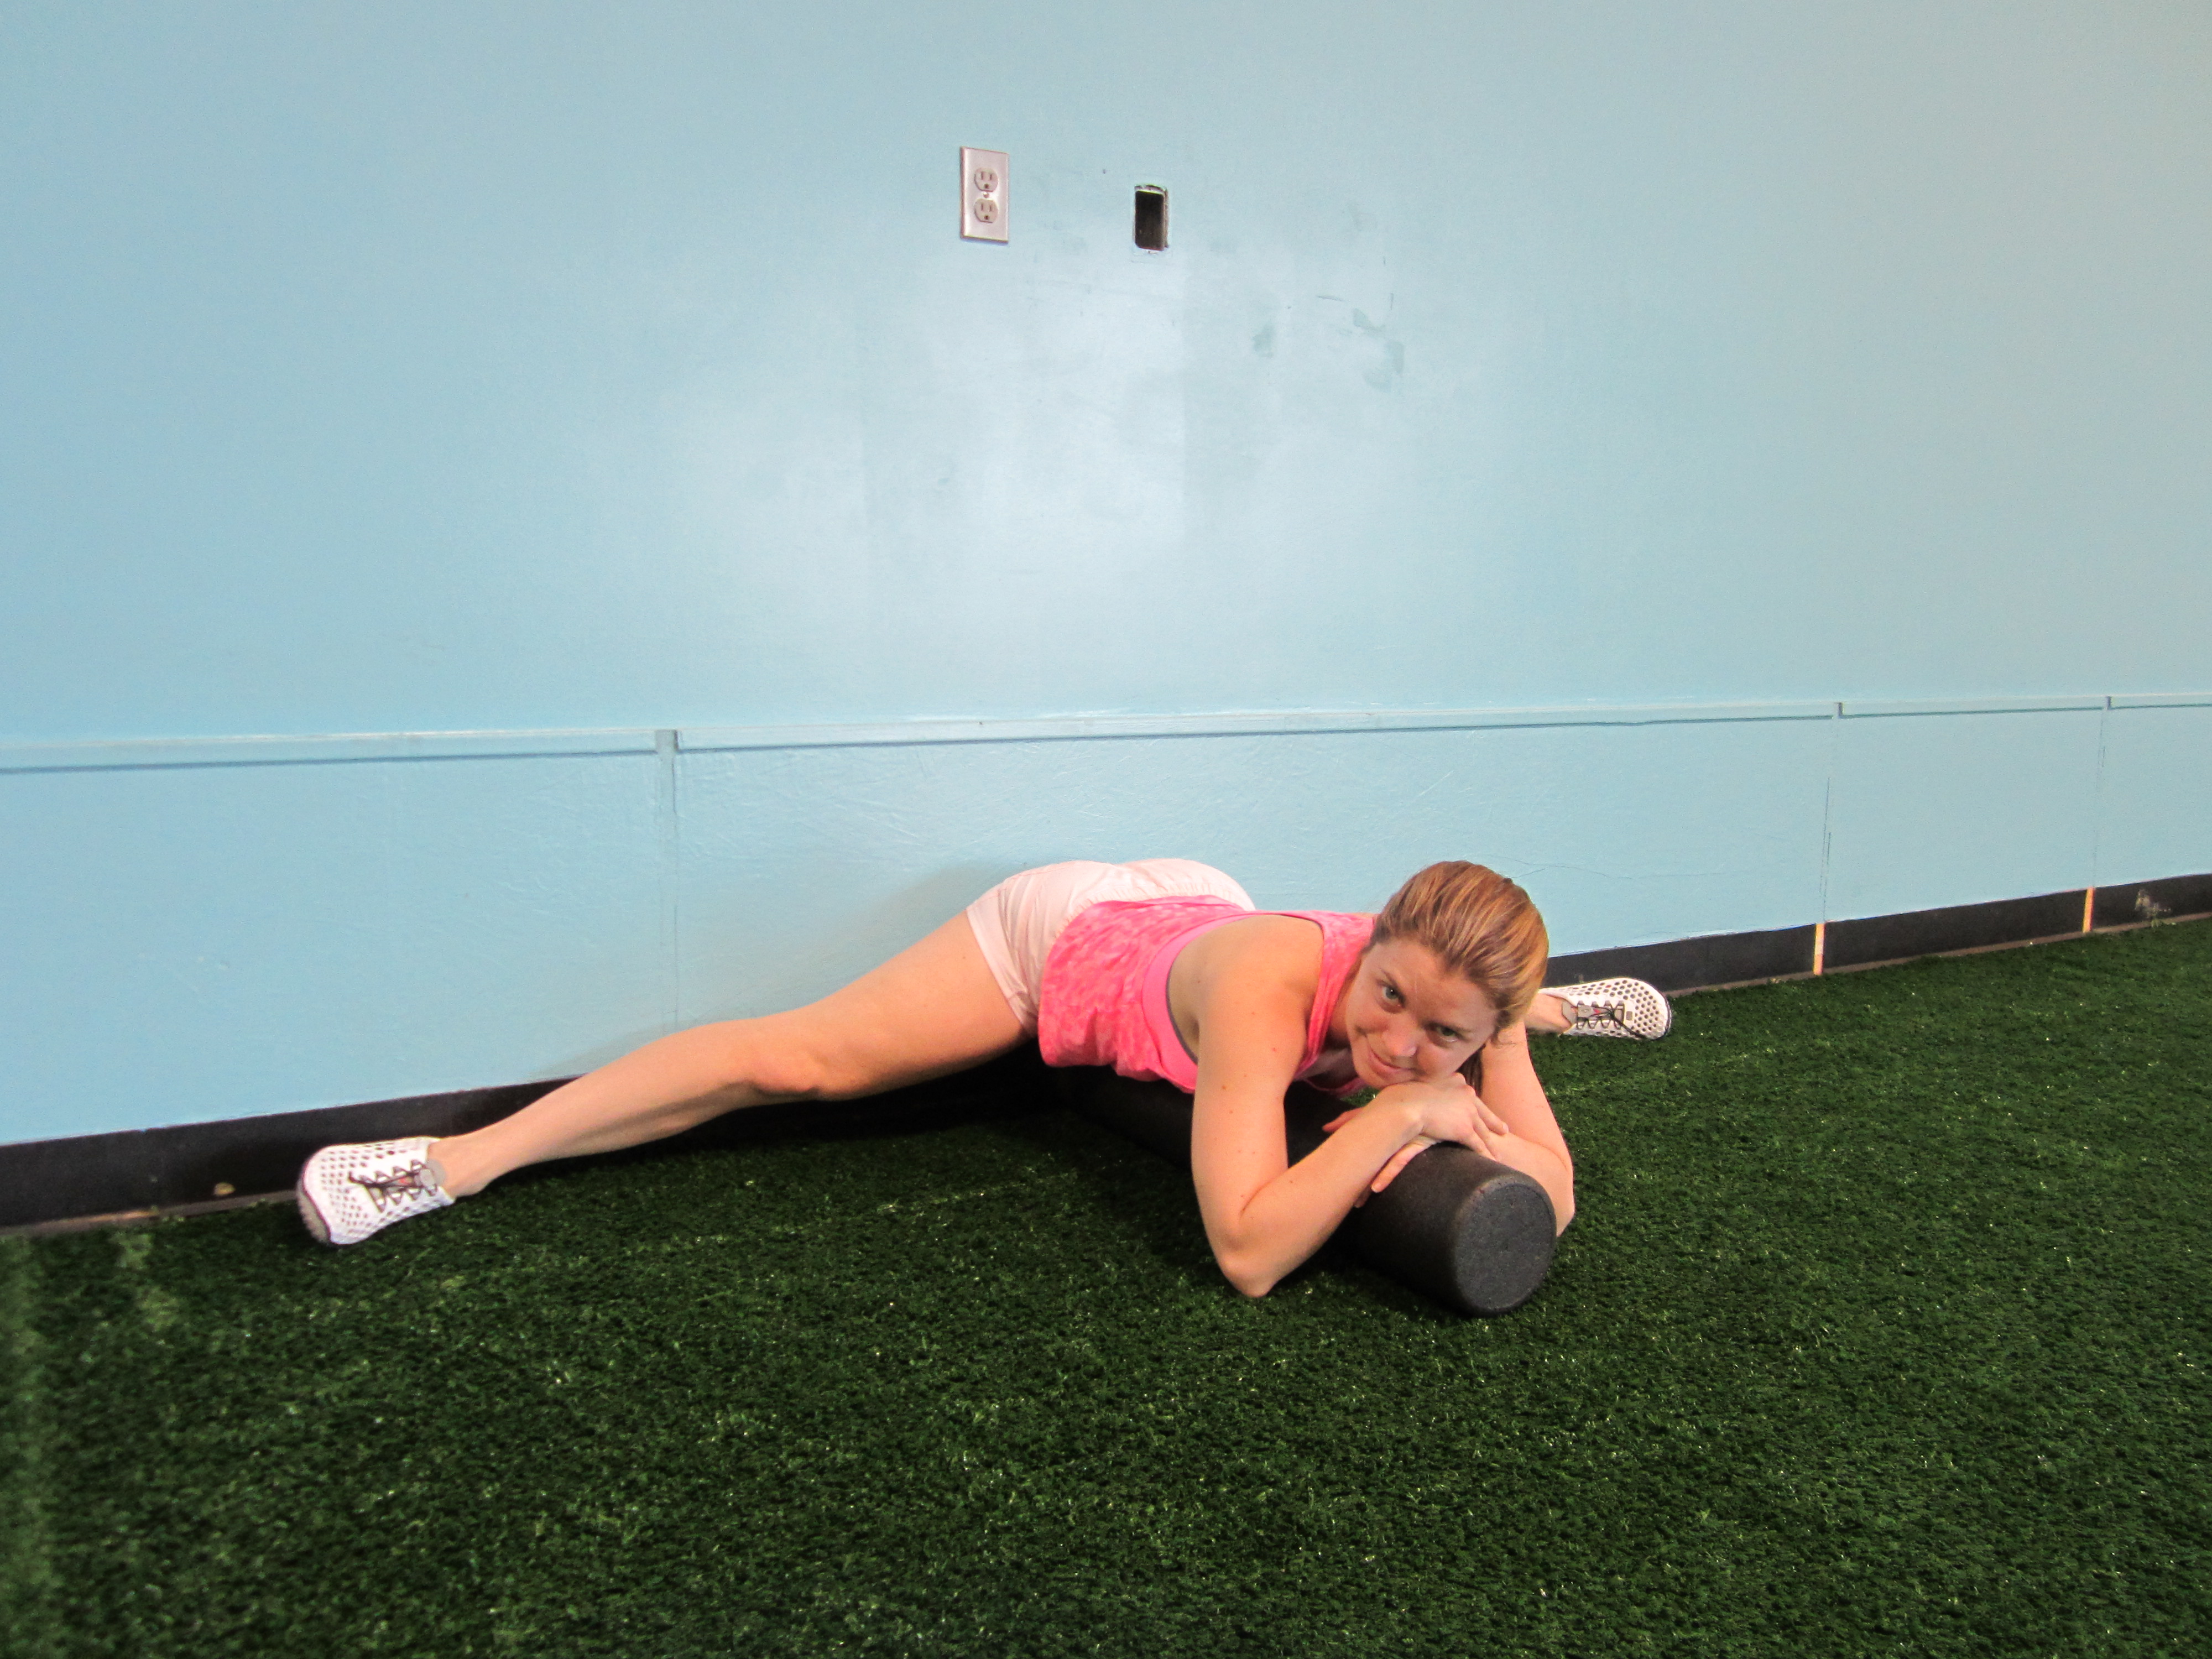
this was where I started stretching – laying on a 6-inch foam roller
After practicing this regularly for a while, it actually became comfortable. The day I thought I could take a nap in this position was the day I decided I was ready to move to the next level. I needed something similar to this foam roller that brought me just an inch or so closer to the ground.
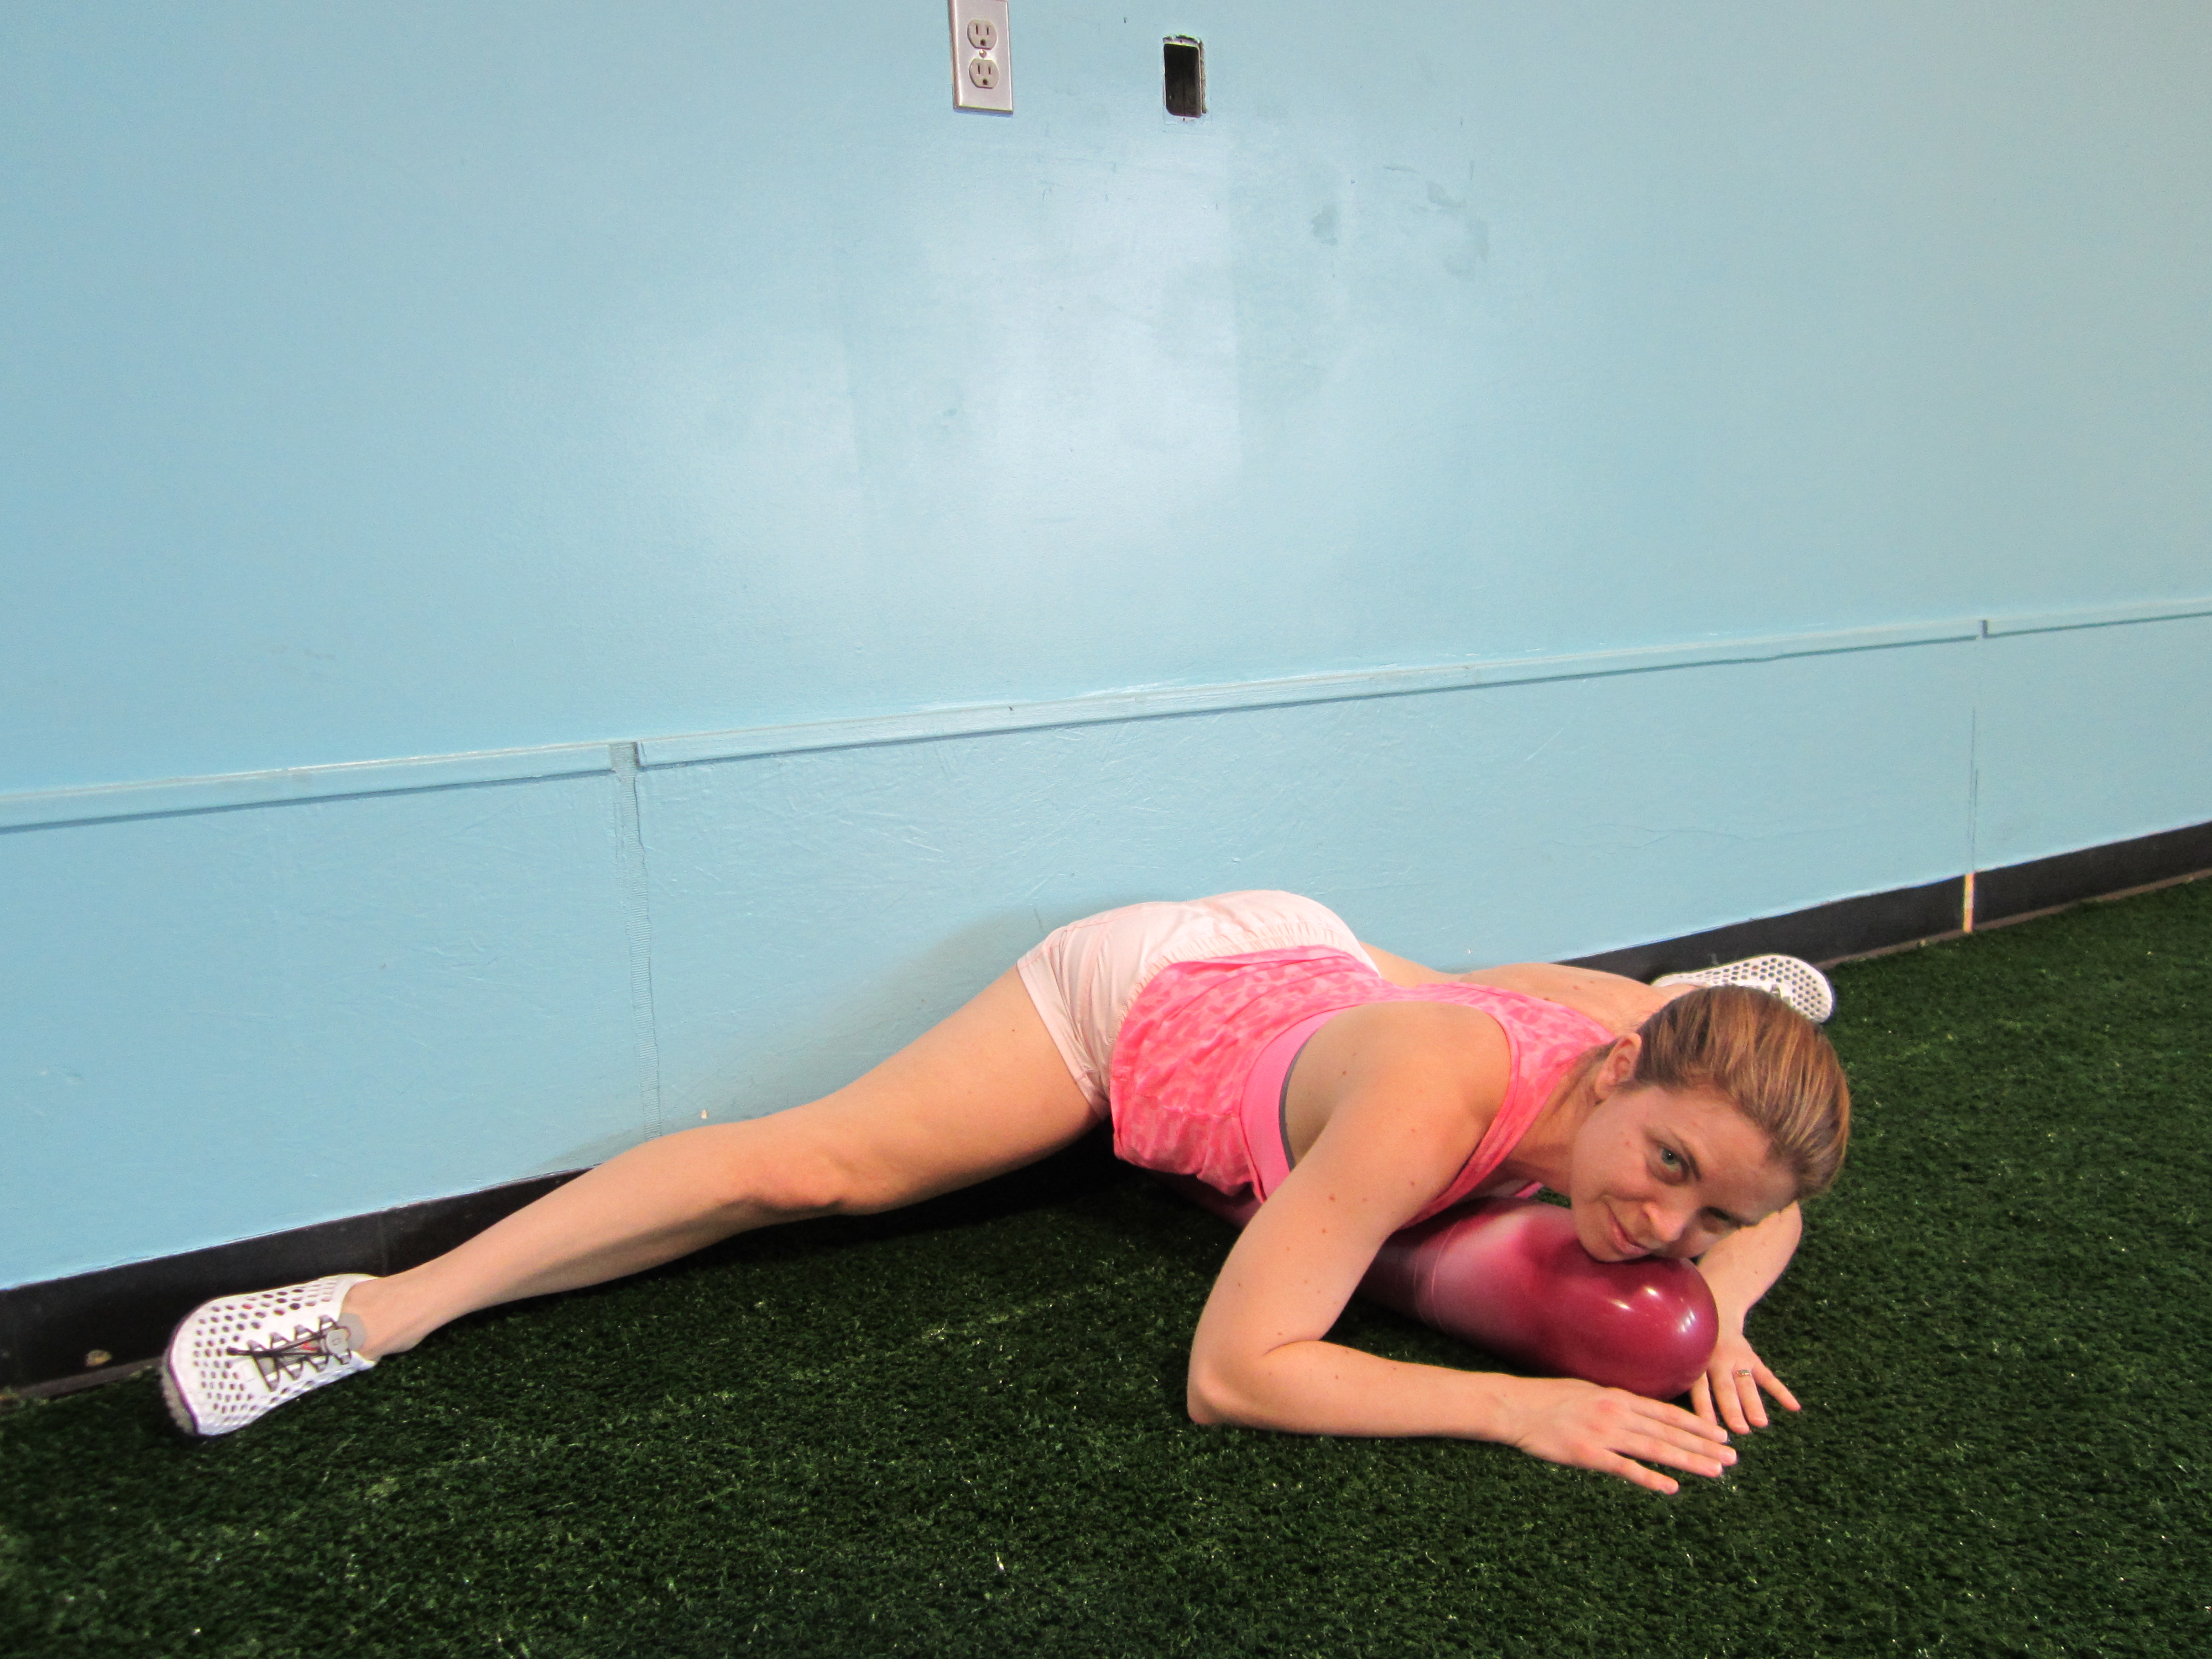
step 2 – laying on a squishy air roller
Encouraged by my progress, I quickly tried a 3-inch half roller.

step 3- the half roller
From there I was finally brave enough to go unsupported. In this photo, my hips are actually just an inch or 2 off the ground, but this is a huge improvement for me. I found a stretching method I didn’t dread – in fact, looked forward to and could even smile while doing it – and got results. 🙂
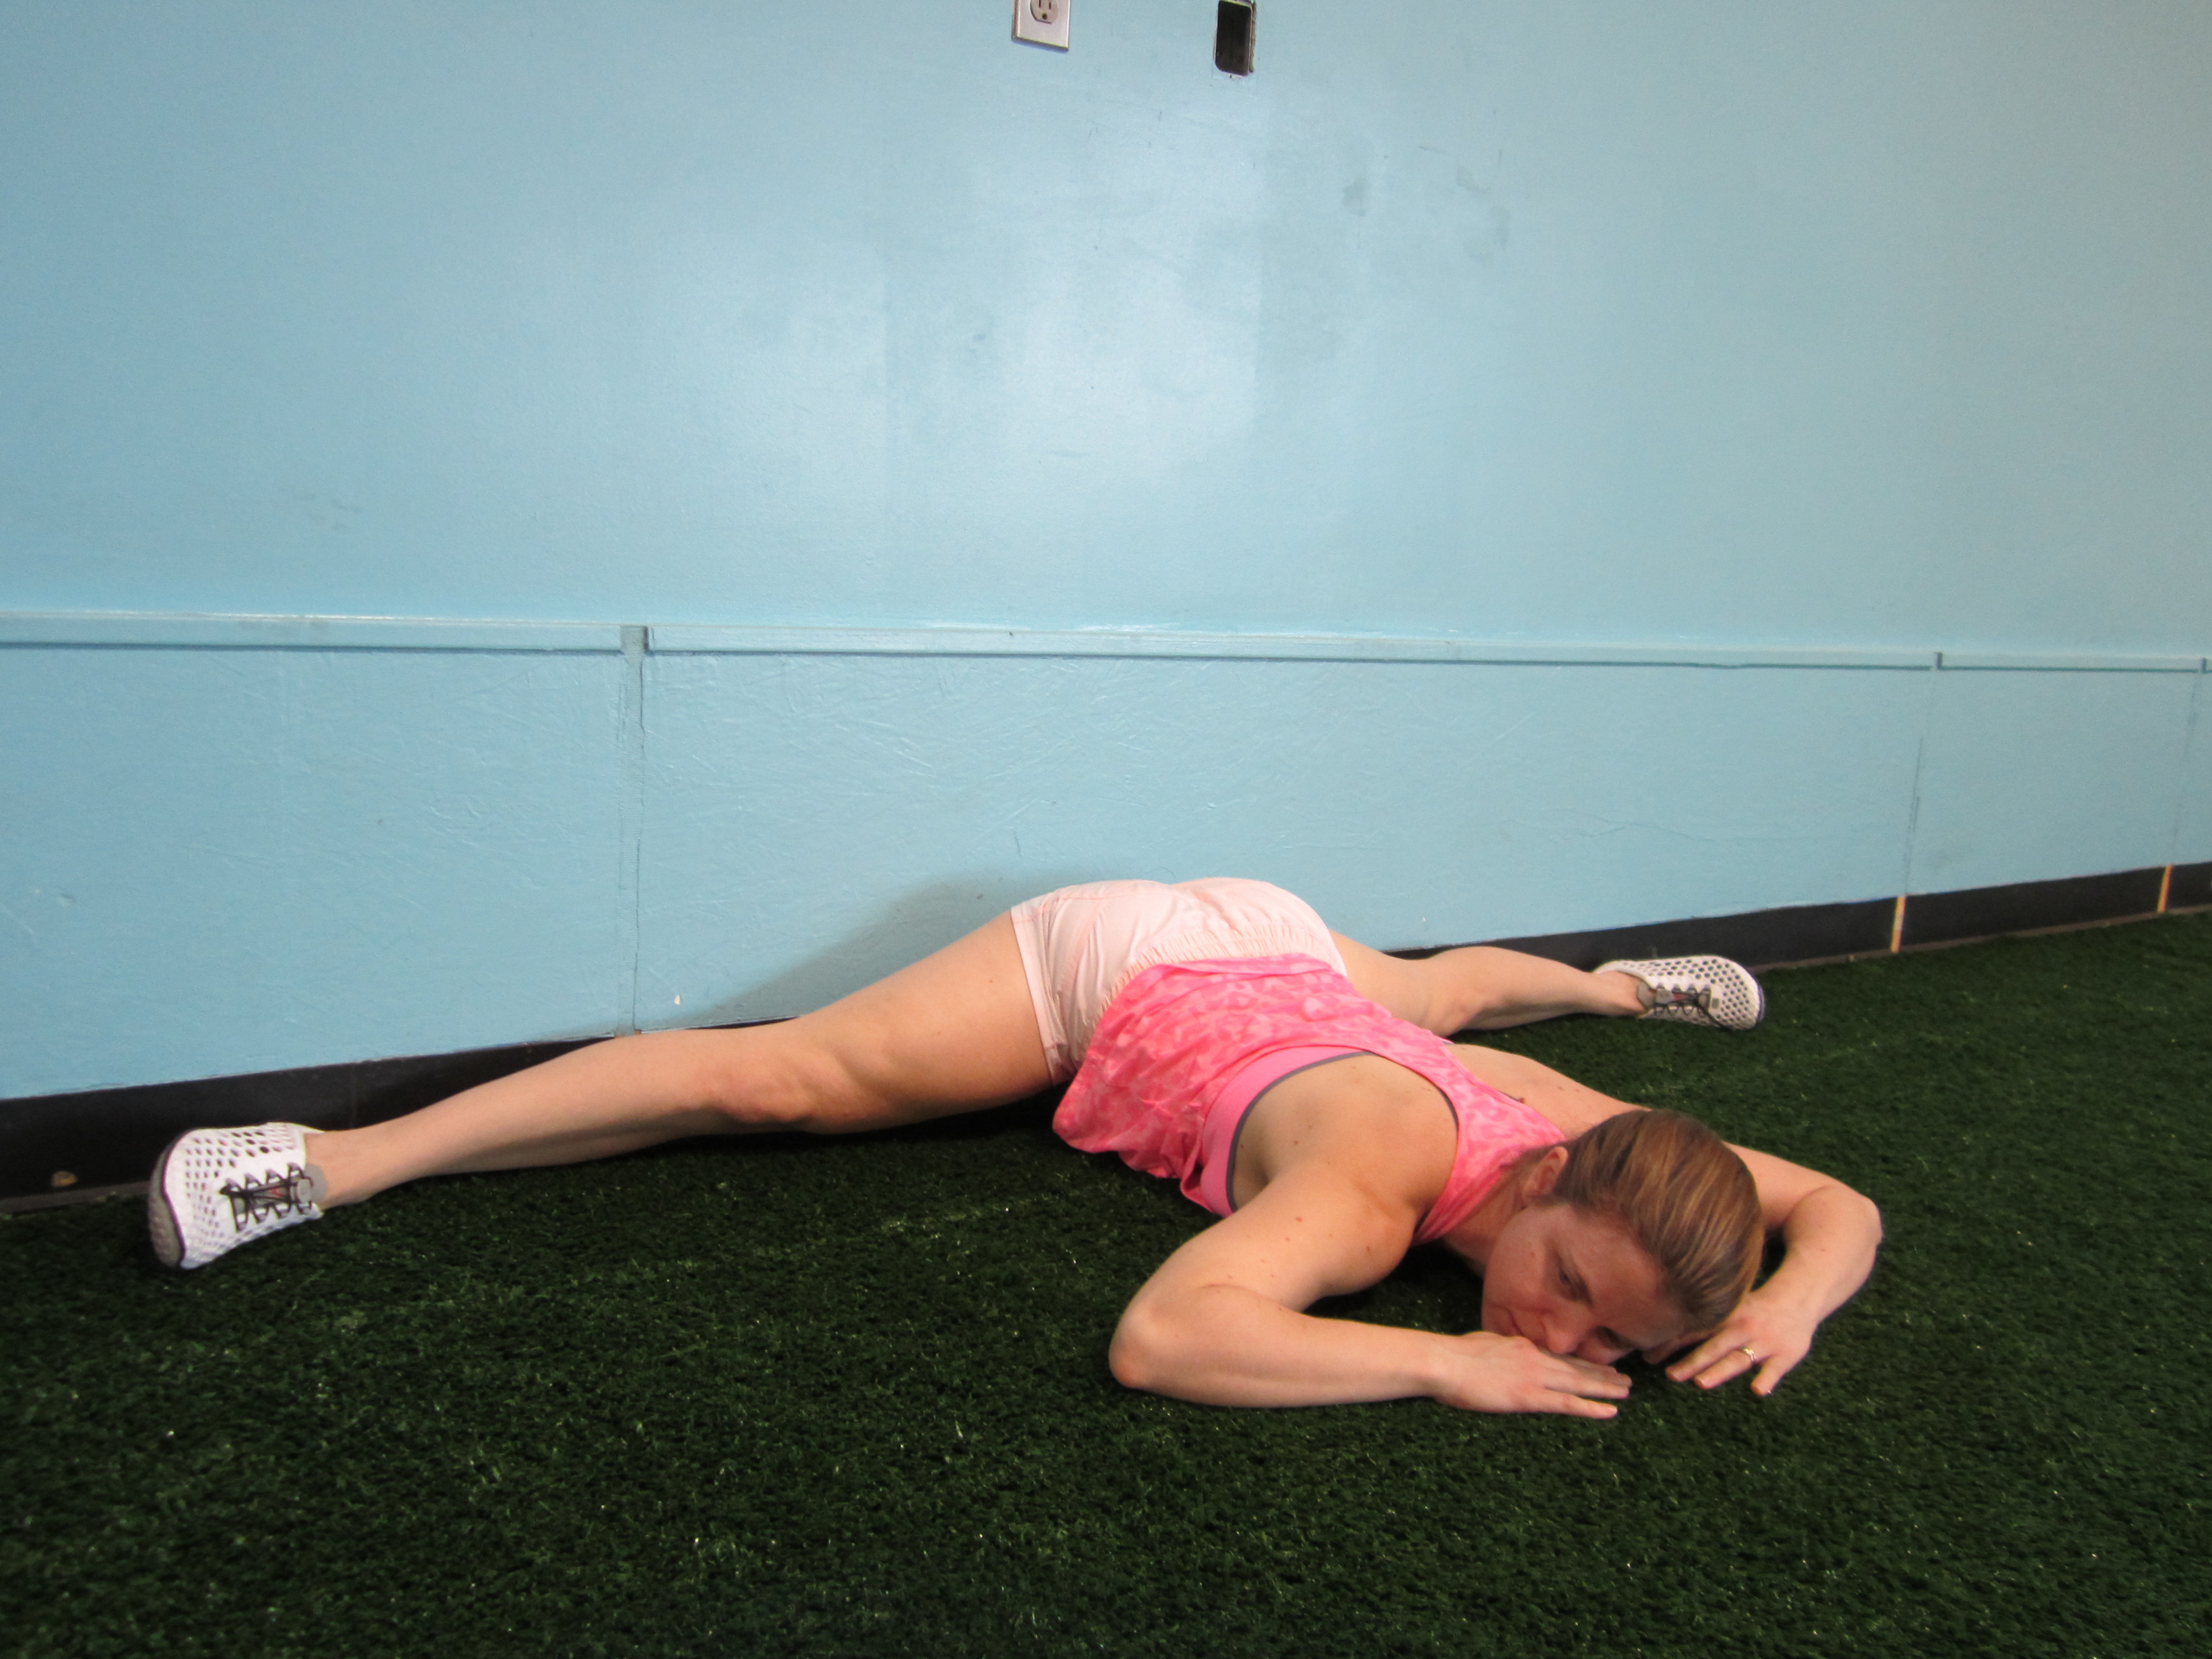
flat out like a pancake
Even after reaching this point, I still start each day’s stretching session with the 6-inch roller, than the squishy roller, the half roller, and then floor. I want to keep this a happy comfortable experience that I ease my body into each time. Looking back at the photos, it doesn’t look like such a huge difference from step 1 to step 4, but I assure you it felt like a huge difference.


